Once you’ve completed the registration process, you’ll be directed to the home screen.
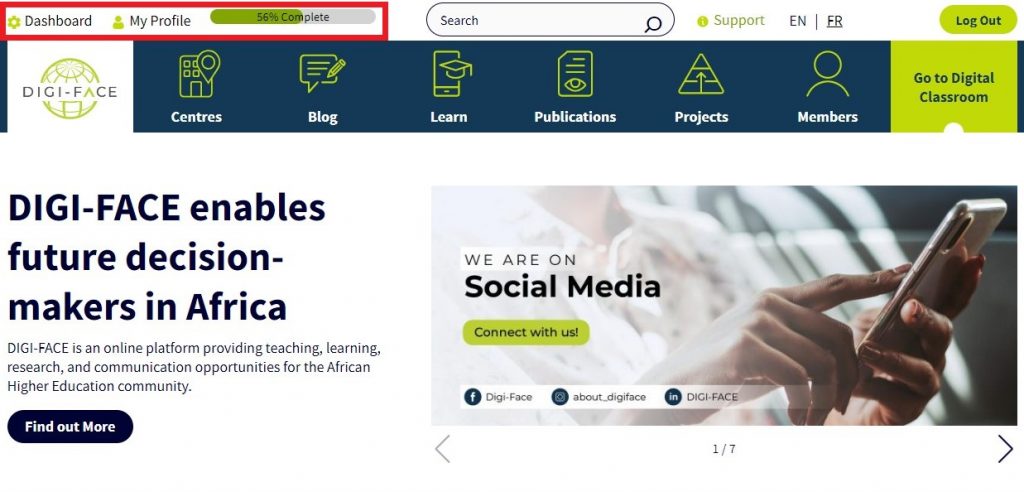
Based on the personal information you provided during registration, you’ll notice that there’s still a portion of your profile left to fill out. In the example below, the newly registered profile is 56% complete.
From there, you can easily access the profile editing options by selecting the Dashboard button or by selecting the My Profile button, then selecting Edit my profile . Both options are located in the top-left corner of the DIGI-FACE Homepage.
Please be aware that all required fields will be marked with a small red star. This will ensure that your profile is 100% complete.
Use this space to create a professional profile that tells people more about your experience and your current work.
Please note that there are different tabs where different types of information are required (General User Information, Professional Details, Private Details, Recommended Courses, Qualifications, Publications).
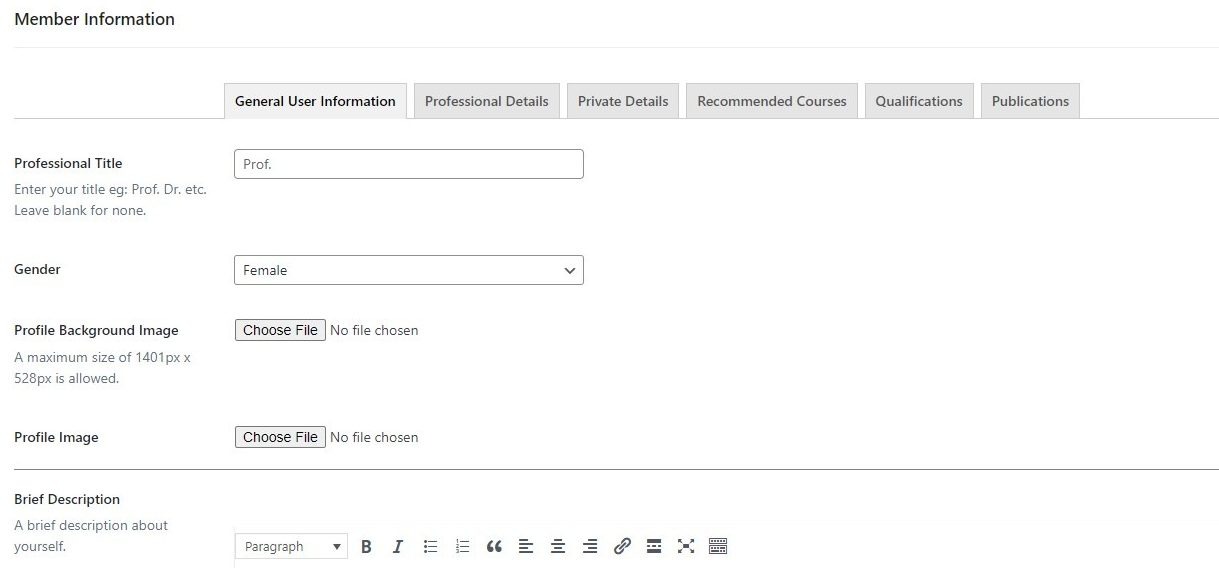
To be one step closer to completing your profile, we recommend uploading a Profile Background Image (please note that there is a size limit: 1401px x 528px) as well as a Profile Image.
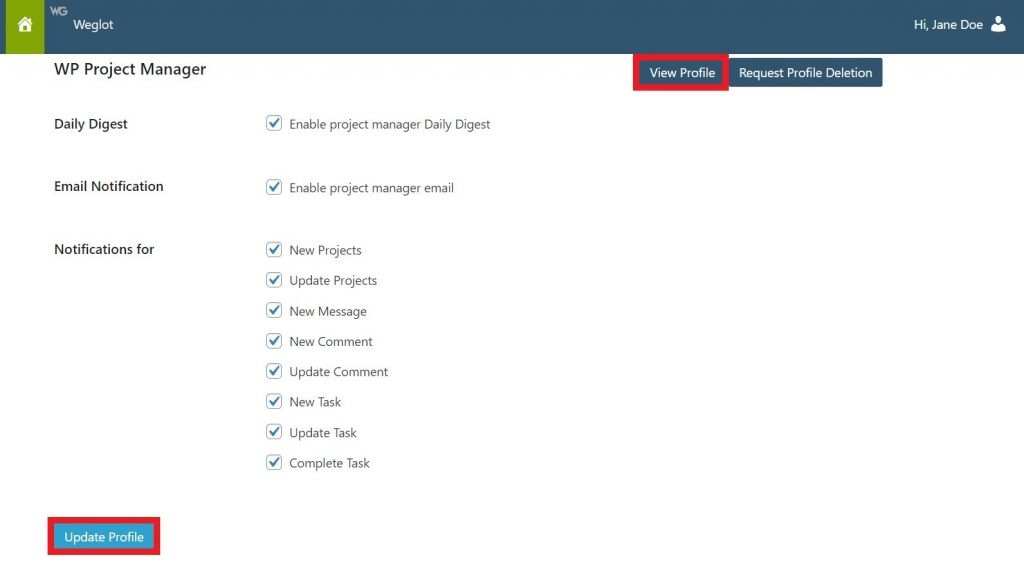
Remember to click on Update Profile to finalise any changes you make. This button is located at the bottom of the page.
You can also change your Username if you’re not happy with the one automatically generated by DIGI-FACE.
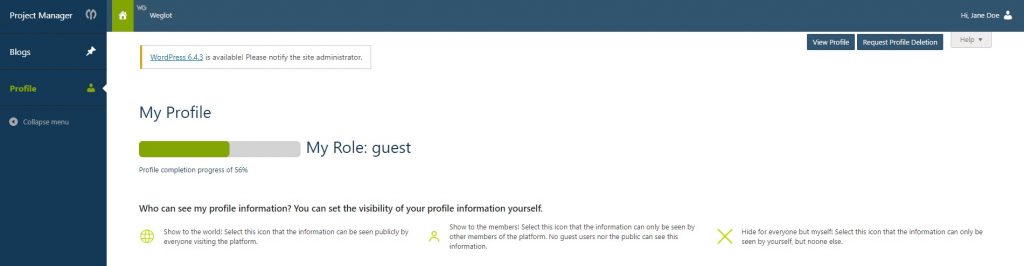
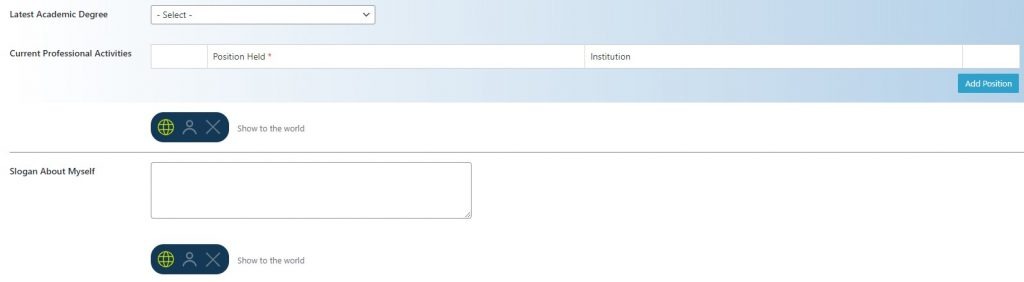
Users can decide how much of their information is private, available for all to see, or just available to other members by clicking on this icon that is available at every step of your profile.


Continue down the page to fill in as much information as possible. For example, your Latest Academic Degree and a Slogan that provides context and insight into your professional identity.
To add a Current Professional Activity, click Add Position, type out the current title of your profession and the institute you are with. Apply the same steps when filling out your Past Professional Experiences. Simply click Add Position for each additional entry.
Some sections allow for multiple rows to be added. If you are needing to remove a row, simply hover over the far right area and click the minus icon.

Utilise the WP Project Manager to personalise your notification settings.
We encourage all users to ensure their profiles are complete. Please take the time to fill out as much information as possible. Don’t forget to click on Update Profile to save your progress and click View Profile to see your the final result.