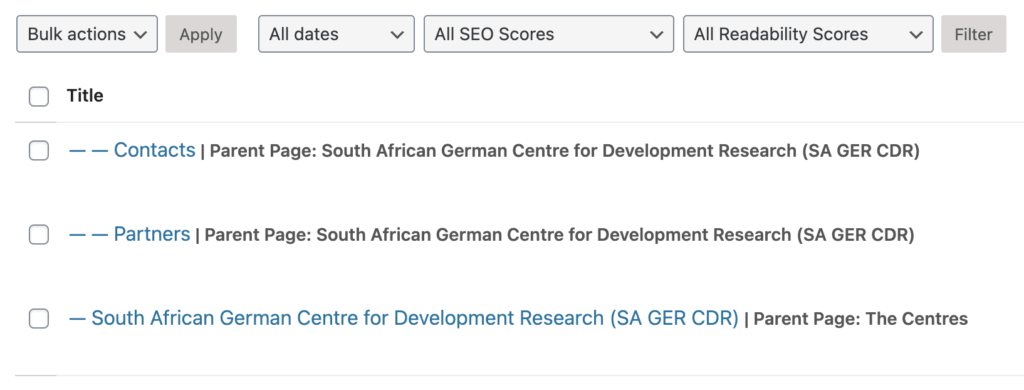
After having your role updated as discussed in the registration section, you will have centre page administration privileges. First, you need to go to the ‘Dashboard’, you will find the button above the menu bar on the far left. To see the centre pages you are able to manage, hover over “Pages” in the left hand navigation pane and click on “All Pages”. You will be presented with a list of pages you can edit, usually 3. The main centre page, the contact page and the partners page. Simply click on the title or the “Edit” link to edit the desired centre page.

Main Centre Page #
Similar to creating a blog post, you will see the familiar plus sign button where you can add elements to the main content area. There are also custom content areas where you can add content specific to certain areas of the page. Scrolling down the page and looking at the labels for each section should make it clearer for which area on the frontend you are editing content for.
Some of the content you can control on this page is:
- Header paragraph
- Whether to display a video or image under the main heading
- Set Centre logo
- Content and goals
- Programme and how to apply
- Option show show blog posts from a particular category
- Show recommended topics
- Show recommended courses
Centre Contacts Page #
This page is more focussed and content can only be edited via the existing fields available to you. Editable content on this page includes:
- Adding a map displaying the centre location based on latitude and longitude coordinates
- Select users to display on the contact page associated with the centre
- Upload a map image in PDF format for users to download
- Enter general contact details and office hours
Partners #
The focus of this page is to list project partners and has the least editable content of the three pages:
- Partner type
- Details about the partner
- Address information and member information about the partner


