All DIGI-FACE members are welcome to share their views and news in the form of a blog post.
Simply follow these steps to add your post to the platform:
- Ensure you are logged in.
- Click on Dashboard next to the gear icon in the top left hand corner of your screen.

- This will take you back to the My Profile screen where you can update or amend your information.
- Look for Blogs in the sidebar menu on the left hand side of the screen.

- If you hover over Blogs you will see two options appear: Blogs and Add Blog.

- Click on Add Blog to start writing a post.
- Type your title directly into the section that says “Add title”. Remember to choose something that is short, impactful and clearly states what the post will be about.
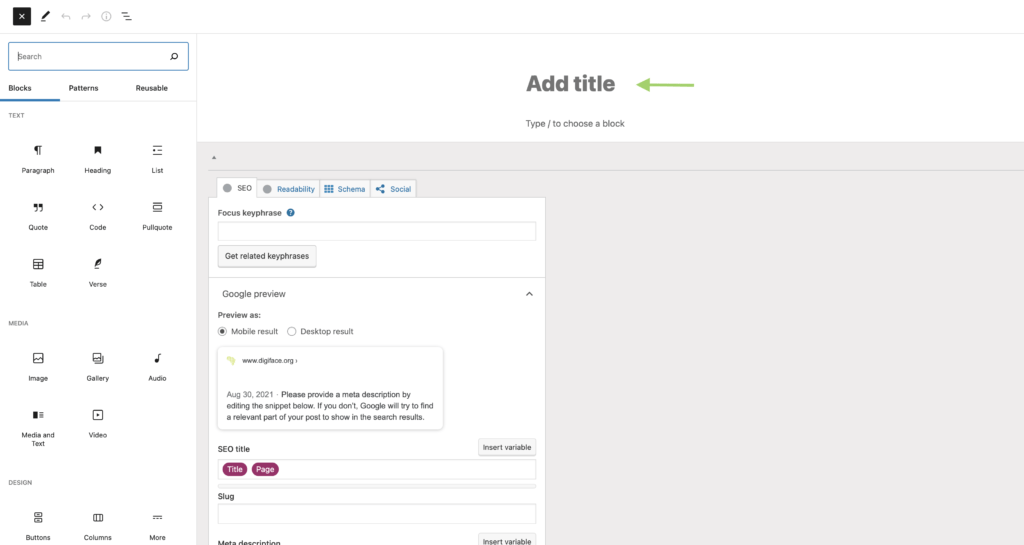
- To add content into your post you will need to add Blocks. You can do by clicking on the plus sign situated on the right of your the screen.

- Different serve different purposes, their names tell you what function they perform. Browse through all of the blocks until you find the ones you need, remember to use the slider to see all of the options available to you. As a general rule you will need to add paragraph blocks and intersperse these with some headings as well as photos or galleries. All of these can be found in the Blocks menu.

- Remember to click on Preview to see what your post will look like when it’s live. If you are unhappy with the way it displays you can make some changes before clicking on Publish.

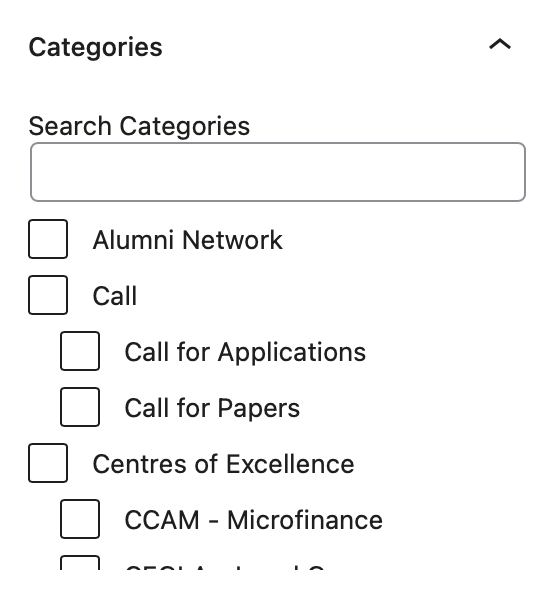
- Please note that before you can actually publish your post you need to select the appropriate category that it belongs to from the Categories dropdown on the right side of your screen.

- If you click on Categories it will expand and show you the list of available options.
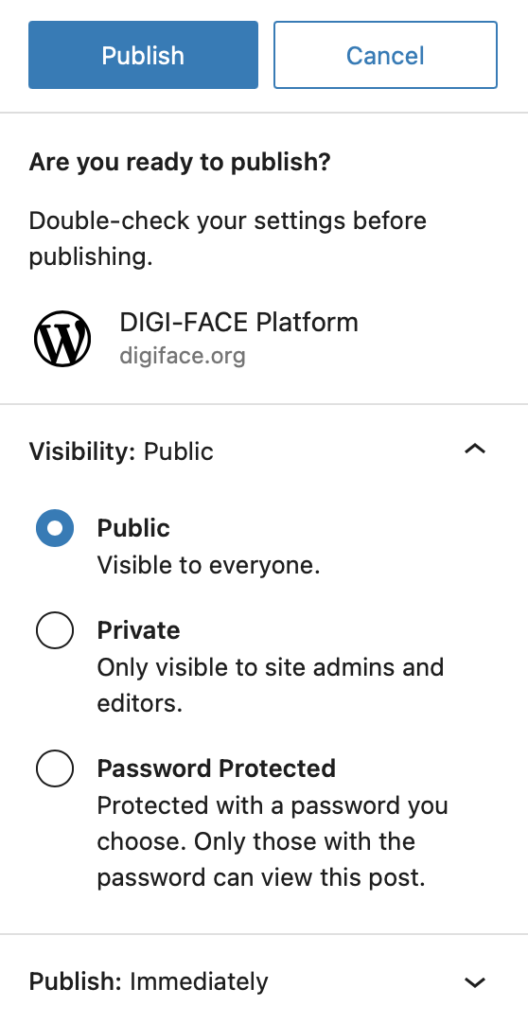
- Once you click on Publish you can choose whether it should be Public, Private or Password Protected.
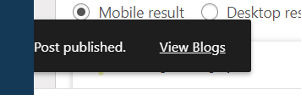
- Finally, a pop-up window will appear asking if you’re ready to publish your post and once you confirm this screen will appear.